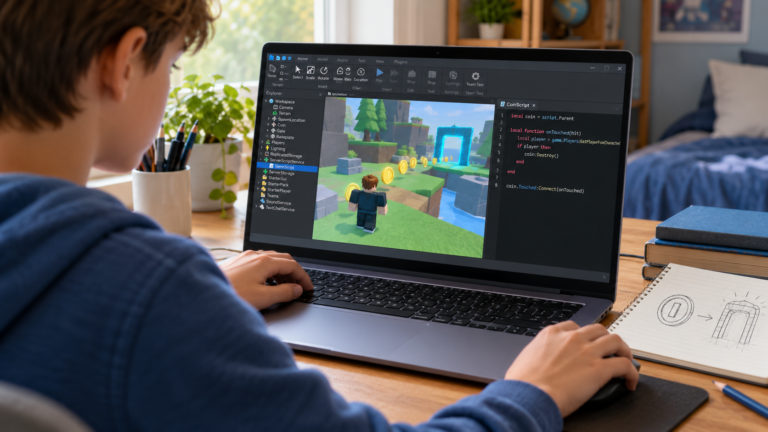
A checkpoint gives a player a place to return to after their character respawns in an obstacle course. This Roblox Studio tutorial uses two SpawnLocation objects and one server Script in Luau. A player who touches the checkpoint changes their own respawn point.
This example keeps progress during the current session. It does not save a stage between visits or manage a sequence of numbered checkpoints. Start by understanding one checkpoint, then add complexity when the first version is clear.
1. Set up Start and Checkpoint in Workspace
Open a Baseplate project in Roblox Studio. Rename the starting SpawnLocation Start. Duplicate it, name the copy Checkpoint and move it far enough away that a character will not touch both locations at once.
Keep only these two SpawnLocation objects for this exercise. The checkpoint must actually be a SpawnLocation; renaming a normal Part will not turn it into one.
For both objects, set Anchored = true, Enabled = true, Neutral = true and AllowTeamChangeOnTouch = false. Keep CanCollide and CanTouch enabled. Place both locations on an accessible surface and give them different colours so they are easy to distinguish.
2. Add a server Script
Inside ServerScriptService, add a Script and replace its contents with the code below. Use a server Script rather than a LocalScript: the server should manage each player’s respawn location. The names Start and Checkpoint must exactly match the objects directly inside Workspace.
local Players = game:GetService("Players")
local startSpawn = workspace:WaitForChild("Start")
local checkpoint = workspace:WaitForChild("Checkpoint")

assert(startSpawn:IsA("SpawnLocation"), "Start must be a SpawnLocation")
assert(checkpoint:IsA("SpawnLocation"), "Checkpoint must be a SpawnLocation")

local function preparePlayer(player)
    player.RespawnLocation = startSpawn
    -- A character may already exist when a Studio test starts.
    if player.Character then
        player:LoadCharacterAsync()
    end
end

Players.PlayerAdded:Connect(preparePlayer)
for _, player in ipairs(Players:GetPlayers()) do
    preparePlayer(player)
end

checkpoint.Touched:Connect(function(part)
    local character = part:FindFirstAncestorOfClass("Model")
    if not character then
        return
    end

    local player = Players:GetPlayerFromCharacter(character)
    local humanoid = character:FindFirstChildOfClass("Humanoid")
    if not player or not humanoid or humanoid.Health <= 0 then
        return
    end

    if player.RespawnLocation ~= checkpoint then
        player.RespawnLocation = checkpoint
        print("Checkpoint activated")
    end
end)
3. Understand the script one step at a time
WaitForChild finds the two objects in Workspace. The assert checks stop the script with a clear message if either object has the wrong class. If a name does not match, check the Explorer before changing the code.
preparePlayer selects Start as the initial respawn point. The function handles players who join after the script starts and players already present during a Studio test. If a test character already exists, it is reloaded at Start.
Touched passes in the part that contacted the checkpoint. The script looks for its character, the associated player and a Humanoid. A loose object, a character without a player or a dead character should not activate the checkpoint.
player.RespawnLocation = checkpoint selects the next respawn point. It does not instantly teleport the current character. The property belongs to the player, so one player reaching the checkpoint does not change everyone else’s progress.
The final condition avoids assigning the same checkpoint repeatedly when different body parts touch it. The console message appears only when the player changes to this checkpoint.
4. Test the behaviour before adding obstacles
Starting point. Start a test with a playable character and stay away from Checkpoint. Reset the character. It should respawn at Start.
Activation. Walk onto Checkpoint, move away and reset the character. It should now respawn at Checkpoint. Look for Checkpoint activated in the output when it first becomes active for that player.
Repeated contact. Walk over the checkpoint again. The selected respawn point should stay the same without another activation message.
Two-player check. Use Studio’s multiplayer testing tools and let only the first player touch Checkpoint. After resetting, the first should return to Checkpoint and the second to Start.
Fresh session. Stop the test and start again. The selected respawn point should return to Start. Permanent progress would need a separate saving system.
Troubleshooting common checkpoint problems
The script waits without continuing. Check spelling, capital letters and the location of the objects. This version expects Start and Checkpoint directly inside Workspace, not inside another folder or model.
An error mentions SpawnLocation. Inspect the object’s class. Use a genuine SpawnLocation for both points rather than a normal block with a different name.
Touching does nothing. Check CanTouch and walk onto the checkpoint with the playable character. The script deliberately ignores objects that do not belong to a player.
The character respawns somewhere else. Check Enabled and Neutral, remove extra SpawnLocation objects from this exercise and look for another script that changes RespawnLocation. Test this version on its own before combining systems.
What the learner should be able to explain
Ask why the respawn point belongs to each player, why Touched can fire more than once and why a random object should not activate the checkpoint. The learner can then move the checkpoint, predict the next result and test their prediction.
Once this version is understood, possible next projects include several numbered checkpoints, preventing a return to an earlier stage, or showing progress in an interface. Saving between sessions is a separate step after the basic progression logic.
Learn Roblox scripting through individual projects
CodEnfant’s one-to-one online Roblox Studio classes connect small game mechanics with events, conditions and debugging. The learner builds, tests and explains changes with a teacher.
Parents can compare formats in our guide to private and group Roblox coding classes, explore beginner Roblox project ideas or request a free Roblox lesson. Share your child’s experience and your time zone when discussing availability.
Technical references
Roblox documents the APIs used in this exercise: Player.RespawnLocation and SpawnLocation. Use the exercise to connect those API concepts to a small, testable learning project.
Which learning path fits your child?
Age, experience and interests help us choose a suitable starting point.
Compare programs →