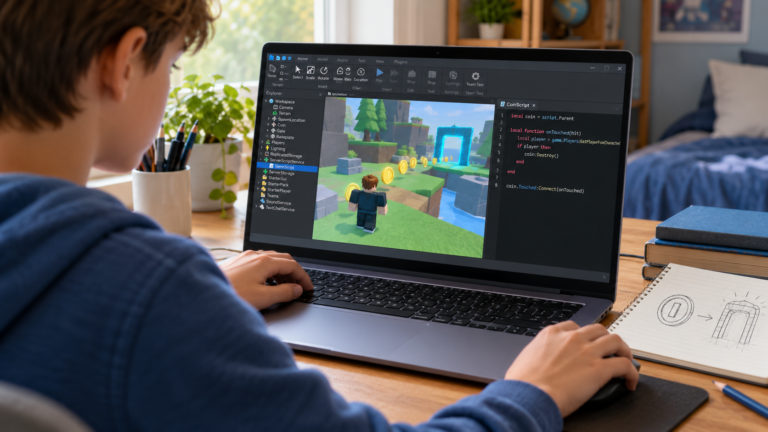
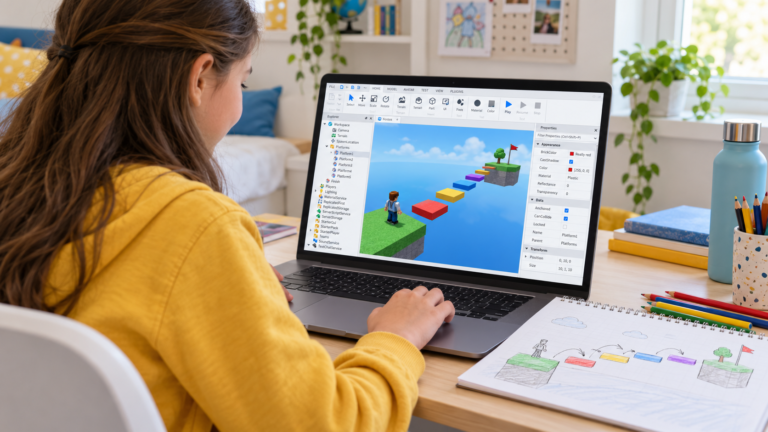
A child who enjoys Brookhaven may already have stories in mind: running a café, designing a home or helping a neighbour. Those ideas can become an original Roblox Studio project with a small town and one useful interaction.
Brookhaven RP, by Brookhaven by Voldex, presents a city roleplay experience with homes, vehicles and places to explore. For a beginner’s project, start with a small setting and a rule the learner can explain.
The learning project: a tiny town with a house to claim
Imagine a town square, one house and a café. Players can walk around, read signs and claim an available house. The first coding challenge is deciding who owns the house and showing that decision clearly.
This exercise uses original buildings and rules. The learner chooses the town’s name, its layout and the kind of story it supports. A few well-tested interactions are enough to create a meaningful first version.
1. Build one place that supports a story
Start with the square and one house. Make the entrance visible and leave enough space for a character to move around. The learner can test the route before adding rooms, furniture and more buildings.
Ask what a new visitor should understand without help. Where do they arrive? Which building can they enter? Where can they find the interaction that claims the house? Clear signs and paths are part of game design.
A café can be added once the first route is comfortable to use. It can begin as a social setting, with later possibilities such as ordering an item or completing a delivery task.
2. Define what owning a house means
Write down the initial rule: an available house can be claimed by one player. Once claimed, its sign shows that it is occupied. A second player receives a useful message instead of replacing the owner.
Choose the scope carefully. In the first version, ownership might only change the sign and the available interaction. A later version can add permissions for the door or allow the owner to invite visitors.
The learner should be able to explain the difference between the house’s appearance and the value that records its owner. A sign that says Occupied is feedback; the underlying ownership rule should also be checked whenever someone tries to claim the building.
3. Give every player clear feedback
Use a short interaction label such as Claim house. After a successful claim, the house can show Occupied and the player can receive a confirmation. If the house already has an owner, explain why the action is unavailable.
Feedback can be written before code is added. Ask the learner to prepare messages for an available house, a successful claim and an unsuccessful second claim. This connects each condition with something the player can see.
4. Decide how ownership resets
A small project needs a clear rule for a player leaving the session. For example, the house can become available again, with its sign and interaction returning to the starting state.
Keep the first version focused on the current session. Saving ownership across visits can become a separate project when the learner understands claiming, releasing and resetting the house.
If the town later has several houses, decide whether one player can claim more than one. Writing this decision down gives the learner another condition to test.
5. Test the town with two players
Available-house test: a new session begins with the house available and the correct interaction displayed.
First-claim test: the first player claims the house and receives the expected feedback.
Second-claim test: another player cannot replace the current owner by repeating the interaction.
Leaving test: when the owner leaves, the building returns to its agreed starting state.
Fresh-session test: a new test begins with the intended default values and matching signs.
If the sign and the ownership rule disagree, investigate both parts. Changing only the text can hide a problem while leaving the incorrect rule in place.
How can a parent recognise learning?
Ask your child to explain what happens when two players try to claim the same house. Then ask them to change a rule: allow two different houses, add a visitor invitation or introduce a café task.
They should be able to identify which part of the world changes visually, which value changes in the program and which test will check the result. That explanation connects creativity with structured thinking.
Extend the town one system at a time
Possible next steps include an opening door, a delivery quest, a simple job or a vehicle waiting at a designated place. Choose the extension that supports the learner’s story and current understanding.
Our beginner’s roadmap to creating a Roblox game offers a practical starting sequence. Parents can also compare support formats in our guide to private and group Roblox coding classes.
Create a town with guided, individual lessons
In CodEnfant’s one-to-one online Roblox Studio classes, the learner builds, writes or changes code, tests an idea and discusses the result with a teacher. The project grows with their confidence and experience.
Request a free Roblox lesson with your child’s age, previous Studio experience and the place they would like to create. Include your country and time zone when discussing suitable lesson times.
Which learning path fits your child?
Age, experience and interests help us choose a suitable starting point.
Compare programs →