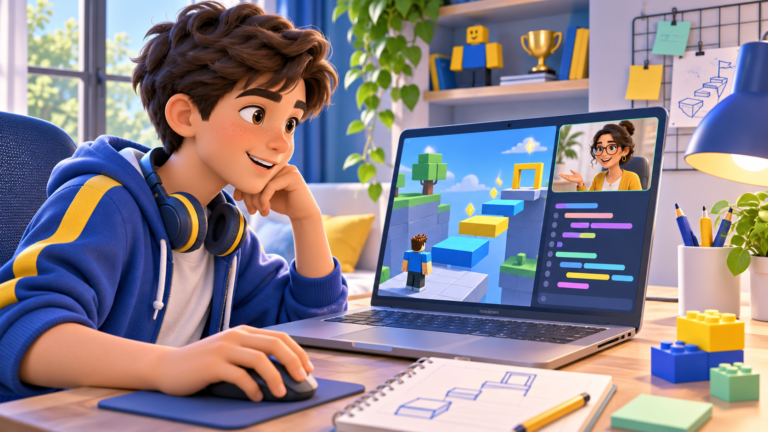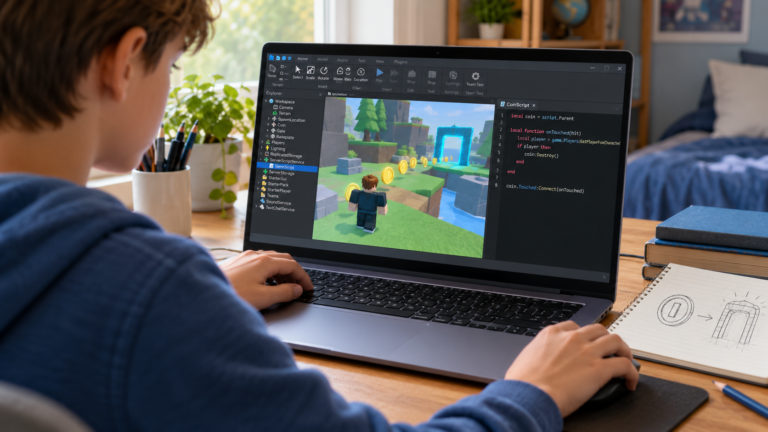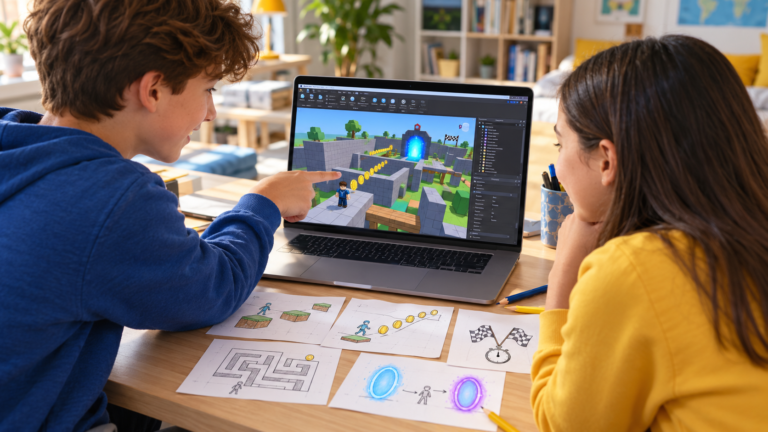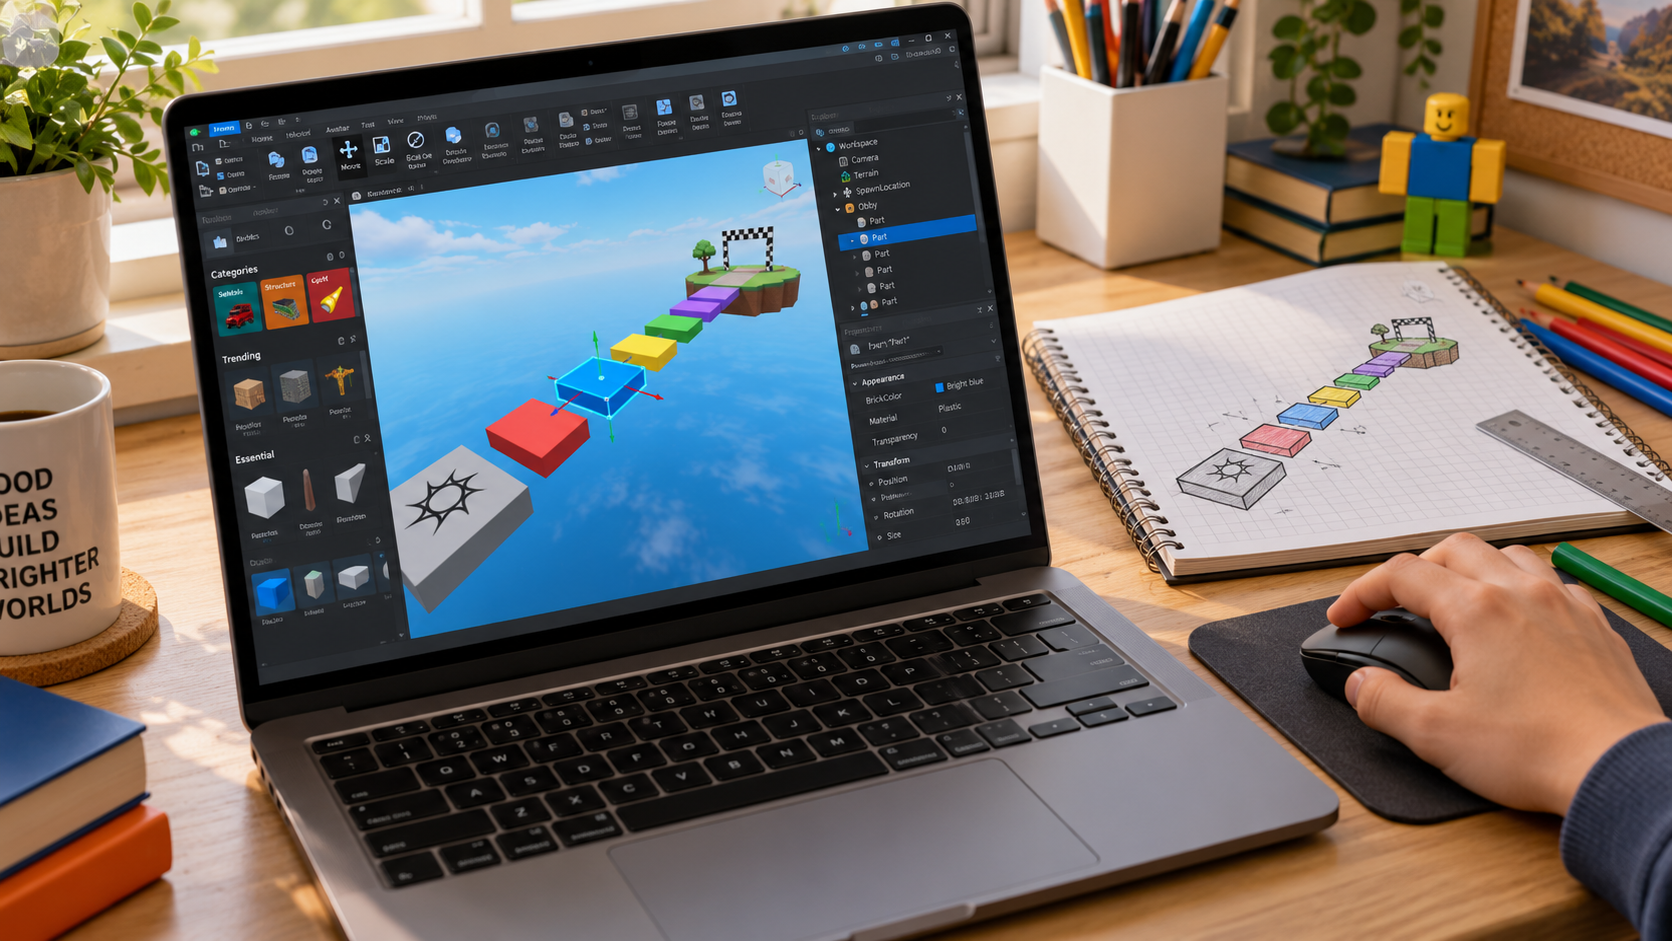
An obby is an obstacle course where players jump between platforms and work towards a finish. It makes a useful first Roblox Studio project because every change has a visible result: a platform becomes wider, a jump becomes easier or the route becomes clearer.
In this beginner tutorial, build a short course with a starting area, five stepping platforms and a finish. This first version focuses on building and playtesting. Checkpoints, timers and scripted hazards can come later. For the wider learning sequence, read our roadmap to making a first Roblox game.
Before you begin
Install Roblox Studio on a Windows or Mac computer and sign in to your Roblox account. If you are unfamiliar with the workspace, start with Roblox’s official Studio introduction.
Keep the Explorer and Properties panels available so you can select objects and inspect their settings. Save your project regularly. Choose a short name you will recognise, such as “My First Five-Platform Obby”.
1. Plan the route on paper
Draw a large rectangle for the start, five smaller rectangles for the jumps and another large rectangle for the finish. Keep the route mostly straight for this first version.
Decide which platform should be the easiest and where the challenge should increase. Do not add decoration yet. Your first goal is a route that can be played from start to finish.
2. Prepare the starting area
Open a simple starting template, such as Baseplate, and identify where the player begins. Keep enough flat space around the starting position to turn and approach the first jump.
For a first build, you can keep the ground underneath the route. If players fall, they can practise again without repeatedly restarting. A course suspended over empty space can be a later variation.
3. Insert the first stepping platform
Insert a block Part using Studio’s Part tool. Select it and use Scale to make a broad, flat stepping surface. Use Move to place it a short distance from the starting area.
Keep the top of the first platform close to the starting surface’s height. A small, easy jump gives the player time to understand the route. You can increase the challenge after testing.
4. Anchor the platform and check collisions
With the platform selected, enable Anchored so physics does not make it fall. In Properties, also check that CanCollide is enabled so the character can stand on it.
These properties serve different purposes: anchoring fixes the platform against physics, while collision determines whether the character can pass through it. Roblox explains them in its parts documentation.
5. Build the remaining four platforms
Add or duplicate blocks to create the rest of the route. Name them Platform1 through Platform5 in Explorer so you can find the correct object when something needs changing.
Begin with generous landing areas and short gaps. Change one aspect of difficulty at a time: a slightly longer gap, a smaller landing surface or a change in direction. Anchor every stepping platform and check its collision setting.
If you need help with the building tools, Roblox’s work-with-parts guide covers inserting, moving, resizing and anchoring platforms.
6. Make the finish recognisable
Create a larger final platform and give it a contrasting colour. Add a simple landmark, such as two upright blocks forming a gate. The player should be able to recognise the destination from the start.
This version uses a visual finish. It does not yet display a scripted win message or award points. Those are separate features to add after the course works.
7. Playtest every jump
Enter Play mode and follow the route with your character. Test every jump rather than moving the editor camera straight to the finish. Return to editing mode before adjusting the parts.
If a jump feels unreliable, reduce the gap or widen the landing area. Ask someone unfamiliar with your design to try it: can they understand where to go without instructions?
Also check what happens after a fall. With ground under the course, the player should have a clear way back to the start. If they can walk straight to the finish, decide whether that matters for this practice version or whether the layout needs a boundary.
Fix three common beginner problems
The platform falls: check Anchored on the actual Part, not just on a similarly named object.
The character passes through it: check CanCollide. If the character still falls, inspect the gap and the landing surface from another angle.
Changes disappear after testing: make permanent edits outside Play mode, then save and test again.
What should you add next?
Choose one extension: a checkpoint, a coin to collect or a platform that changes colour. Describe its rule in plain language first, then learn the scripting needed to implement it. Our Lua and Luau guide for parents introduces the language behind these rules.
Ready to try a different idea? Explore our five beginner Roblox game projects, from coin collection to a maze and a timed race.
Saving a project and making it available to other players are different steps. Before sharing, consult Roblox’s current guidance on testing and releasing games, rather than assuming a saved course is publicly playable.
Build your next Roblox project with guidance
Our individual Roblox Studio classes for kids combine game design, building and progressive Luau scripting. Lessons adapt to what the learner can already do.
Ready to add checkpoints, coins or interactive obstacles? Our eight-module Roblox learning path connects building with scripting at your child’s pace.
Request a free Roblox lesson →
Share your child’s age, experience and time zone so we can confirm a suitable lesson time. Already confident building, but stuck on code? Read our guide to the next scripting steps.
Which learning path fits your child?
Age, experience and interests help us choose a suitable starting point.
Compare programs →